By Michelby Whitehead
Eyeliner may be the most difficult cosmetic to apply. Even if you are still a beginner, you can quickly learn how to apply it, depending on the type of eyeliner you prefer to rock. No more leaving home looking like a toddler traced your eyelids; here’s exactly where to draw the line!
Pencil Eyeliner: For Everyday Wear
[youtube https://www.youtube.com/watch?v=1azefUkrcCc&w=560&h=315]
Step One: To create a smooth line, your pencil liner should have the right temperature. Breathe on it a bit so it “smudges” just right.
Step Two: Use your fingers to pull the outer edge of your upper lash line taut.
Step Three: Start drawing at the inner corner moving towards the outer edge of your eyelid.
Step Four: To create a natural look, line your eyes tightly. For something more dramatic, draw the lines a bit thicker, or use liquid liner.
Step Five: To line your lower eyelid, pull the outer edge and start applying.
Liquid Eyeliner: For Subtle Flair
[youtube https://www.youtube.com/watch?v=_WCeOOXjmAQ&w=560&h=315]
Step One: Shake the bottle to make sure the liquid is well-mixed.
Step Two: Pull the brush from the bottle. Start applying at the middle of your upper lash line, moving towards the outer edge.
Step Three: Apply liner at the inner edge of the upper lash line, moving toward the middle. Connect this line to the first one to create a solid line.
Step Four. For a winged look, just apply some liner on the outer lash line with an upward motion.
Gel Eyeliner: Best for a Dramatic Winged Look
[youtube https://www.youtube.com/watch?v=mGE-Lowmyps&w=560&h=315]
Step One: Dip your liner brush into your gel liner. Make sure that only the tip is coated; this is the part of the brush you’ll work with to achieve the look.
Step Two: Start applying at the inner and outer corners moving towards the middle.
Step Three: Connect the lines to create one solid line.
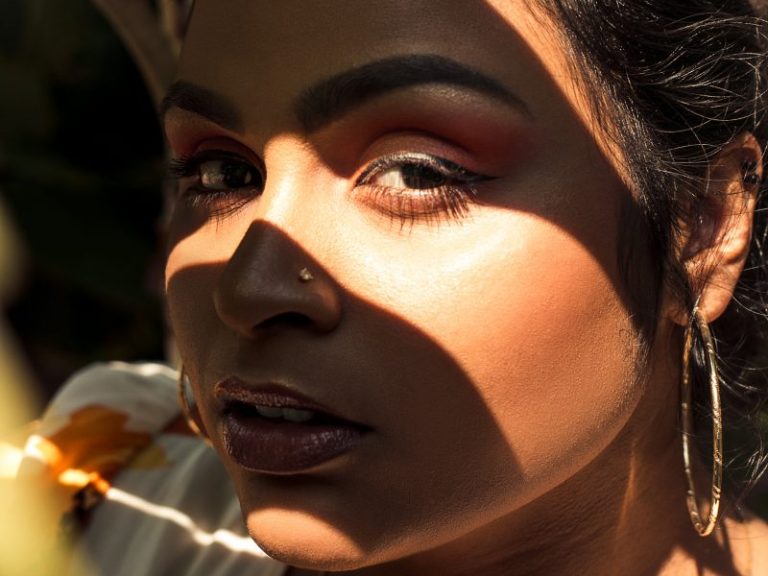
Photo by Lawrson Pinson on Unsplash


