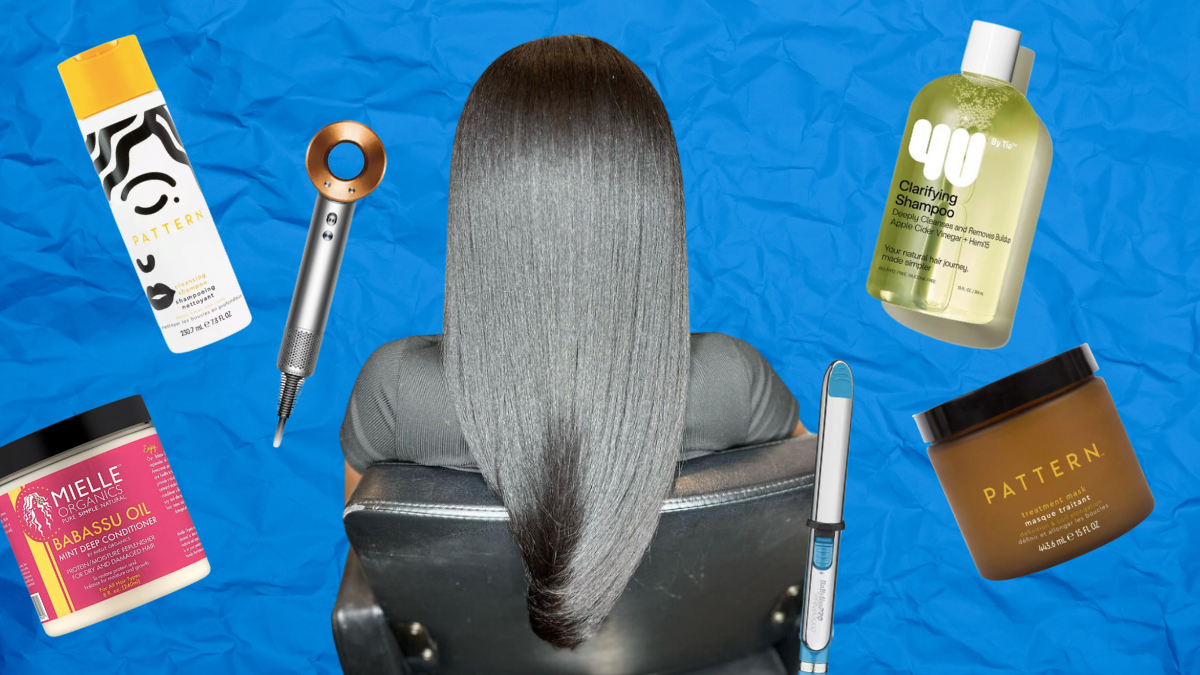
Now that silk press season is upon us, here is your yearly reminder that you can achieve a professional blowout right at home. You don’t need to dish out $60 to $100 bucks to get your hair super straight. If our grandmas and aunties can achieve that silky and smooth press with just a hot comb, a stove, and a dream, then you can do it too. Even if you have a kinky, curly texture.
[SEE ALSO: The Curly Cut We’re Most Excited About For 2024]
Thanks to the advancement of hair technology, all you need is a professional straightener (preferably a mini-sized one to get those hard-to-reach roots), a good wash routine, and a decent blow dryer. Add in some patience and heat protection and you’re ready to go.
Below, we’ll walk you through how to achieve a damage-free silk press at home that’ll rival any professional.
Step 1: Wash Your Hair
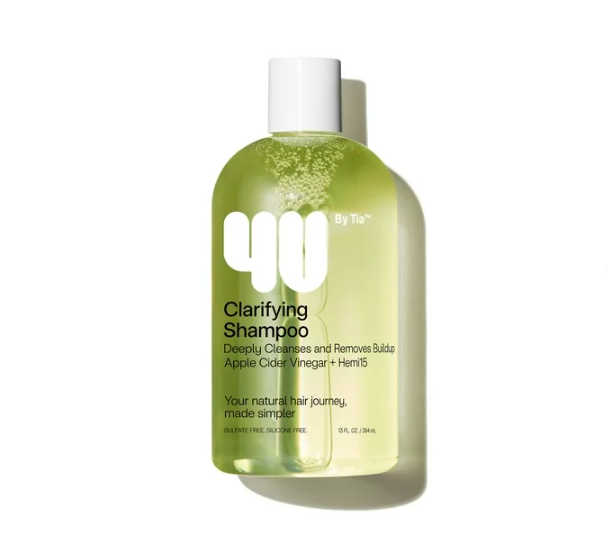
No, but really wash your hair. Clean hair is the key to getting your hair from slightly silky to bone straight. Use clarifying shampoos like the 4U By Tia The Clarifying Shampoo, which contains apple cider vinegar and sea moss extract to help cleanse your hair of all its oils and buildup. Other shampoos like the Pattern Cleansing Shampoo and K18 Peptide Prep Detox Shampoo are good alternatives too.
Step 2: Get in Deep with a Deep Conditioner
Every natural girl knows deep conditioning is a must on wash days. But it’s especially important when exposing your hair to heat. Deep conditioning for 20 to 30 minutes under a hair dryer or 45 minutes with no heat helps to retain moisture, which can help keep your hair damage-free.
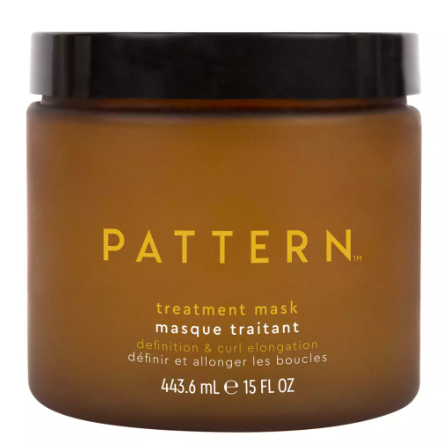
My personal recommendation will always be Pattern’s Treatment Mask as its gel-like texture and rice water extract feel amazing on my curls, but there’s also Mielle’s Organics Babassu & Mint Deep Conditioner and tgin Honey Miracle Hair Mask.
Step 3: Prep & Blow Dry
Remember, we want damage-free straight hair, so please please please use a heat protectant. Heat protectants, which come in oils, serums, and sprays will protect the hair follicle from dryness, extra heat, and breakage. No heat protectant before blow drying can damage your curl pattern and that’s a problem no natural hair girlie wants to have.
So, yes, invest in a good heat protectant. You’ll want one that doesn’t weigh your hair down (as heavy oils and serums can make your hair too oily and thus harder to straighten) but still does a good job of seeping into your curls. We recommend TRESemmé Keratin Smooth Shine Serum and Mizani Heat Screen.
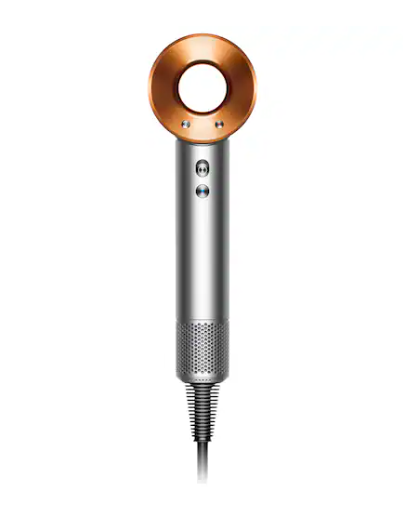
As for the blow-drying stage, part your hair in even sections and blow dry. Your arms will thank you. A round brush with a $20 dryer is good, though fancier alternatives like the Dyson or its dupe, the Revlon hair dryer brush, work just as good. Just make sure each section is thoroughly dry and as smooth as it can be. It’ll make the straightening process much easier, and helps prevent heat damage.
Step 4: Start Straightening
After checking your hair is completely dry, it’s time to straighten. Invest in a good flat iron, preferably one with titanium plates, so that each strand glides smoothly through the iron. We recommend the BabyBlissPro and Chi Original Ceramic.
Begin sectioning your hair (like you did when blow-drying) and start at the nape of your neck. Take one inch—the smaller the section of hair, the easier the flat iron can run through—and press the straighter down from the root to the ends. Remember to go slow and don’t take too many passes as passing the straightener three or four times in the same section can cause damage.
Finish with some spritz and hair spray to tame any flyaways and give your hair some extra shine. To ensure your silk press lasts, wrap your hair in a satin head wrap and a silk bonnet every night. Avoid water and humidity at all costs.


